Original Image:
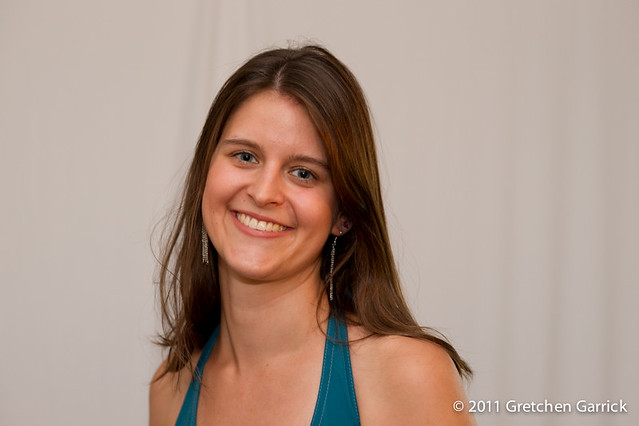 Me, Myself and I – a self portrait I took as part of a photo booth
ISO 200, 85mm fixed, f/3.2, 1/80 sec., on camera flash
In Photoshop:
1. Auto Color– I find that this does wonders when I’m about to convert an image to B&W- otherwise normally I wouldn’t use it at all, as it seems to get the colors all wrong.
2. Black and White to convert the colors. You can also play around with the colors here to get more contrast with reds, greens, etc. I did not in this case.
3. Levels to draw out the deep contrasts between black and white. I absolutely love ‘levels’- it’s just a matter of playing with a histogram until you get the look you want
4. I finished with Clone Stamp to eliminate the lines in the background- I did not want anything to distract from my lovely face…
Final Image:
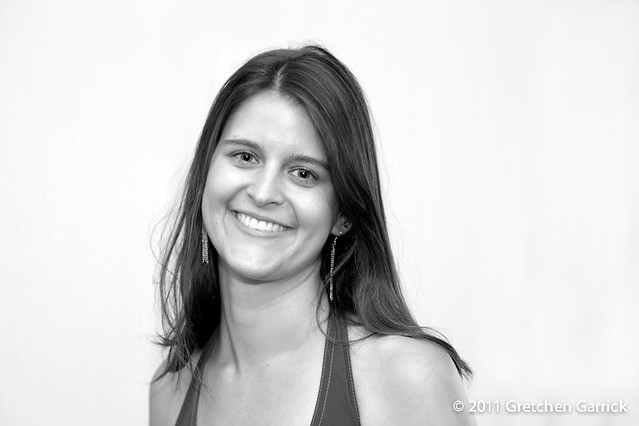
As a side note: I did a series of these photos for my family reunion. I ended up cropping each image in tight on the head as an 8×10. I didn’t do that here, because this tutorial is about creating a black and white image with high contrast, but I wanted you to know that for the final “product” I did indeed crop.
The nice thing about that crop is it brought out the details/blemishes of one’s face- I don’t believe in photoshopping those things out, like they do with models. I find that they add to an person’s individual beauty and their story (Examples of the tight crop are here.)