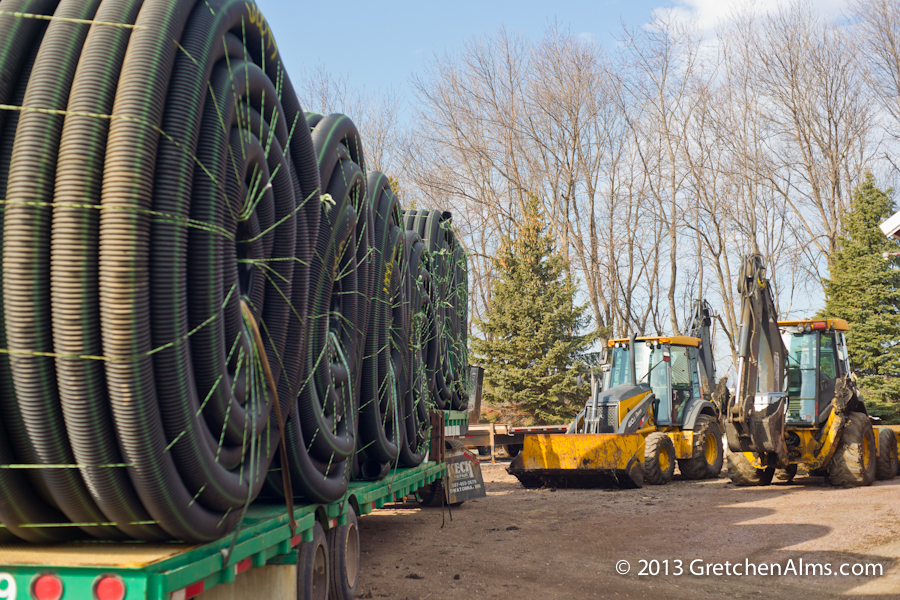
Tiling
Farmers get to work as soon as the snow is gone and the frost is out of the soil. In Minnesota the soil is heavy and holds quite a bit of moisture, so field tiling is important. A company will come out and set up a web of tiles deep under the field to help with water drainage. This is their story.
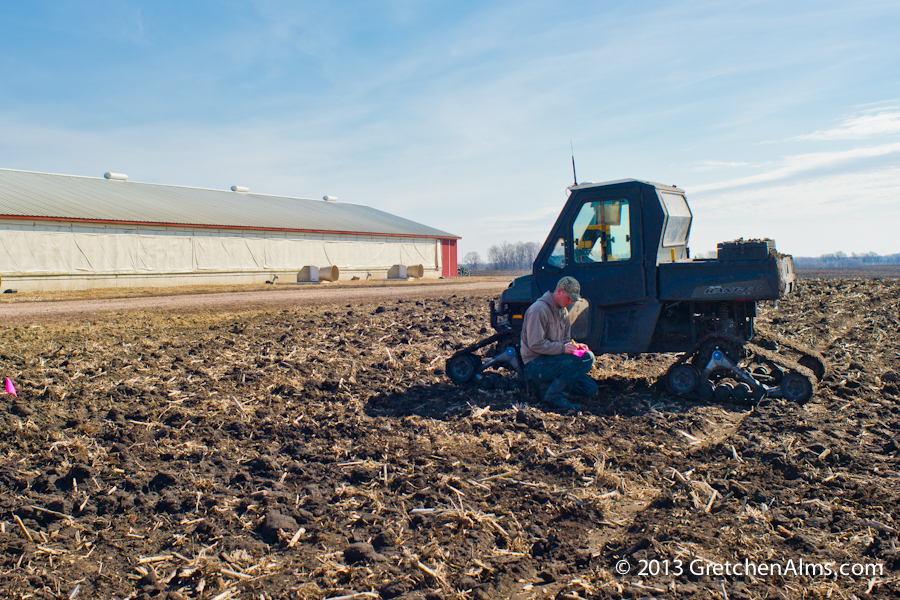
Survey
The surveyors come out first to map out the entire lay of the land. As they drive back and forth across the field a GPS system sets up an underground map for laying the tiles at the same depth the whole field through, in spite of varying high and low spots.
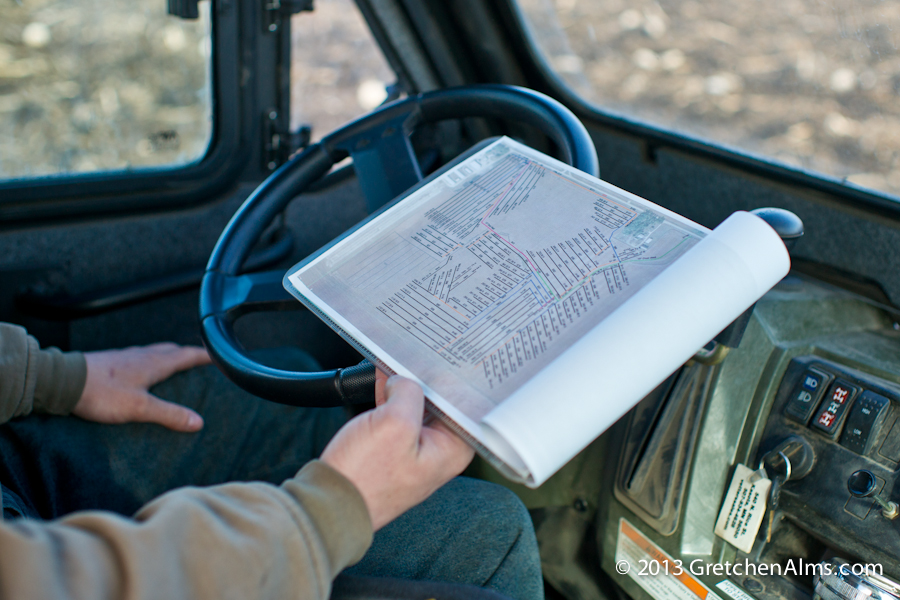
GPS Map
The map is the finished product from the surveyors work. This will be used to bring all the tiles together underground and eventually drained out to a drainage ditch. It will also be given to the farmer so they know where the tile lines lay.
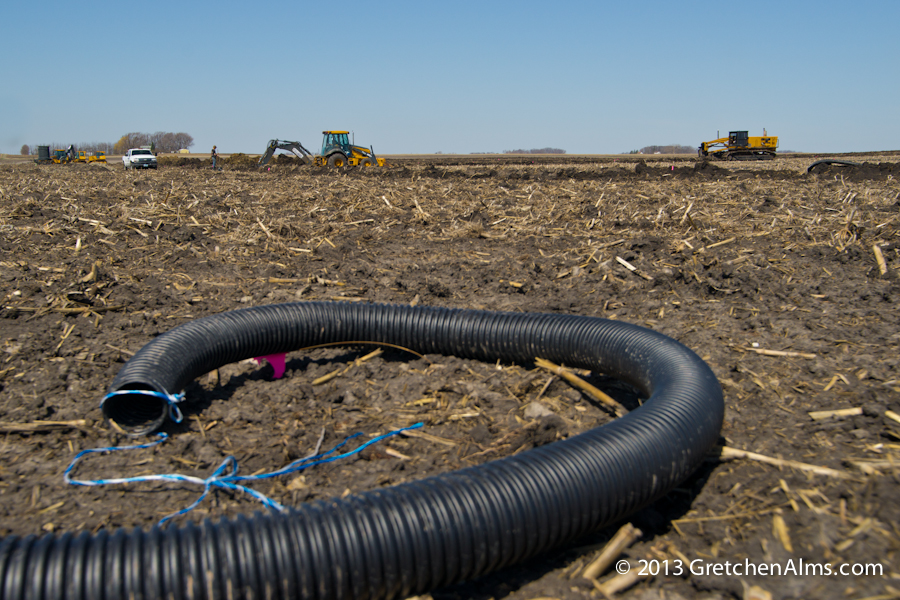
Tiles get laid out
Once the surveyed map is completed the tiling work can begin. The big machines get brought out and the tiles get laid out in lines per the above map so that they will be ready for integration into the soil.
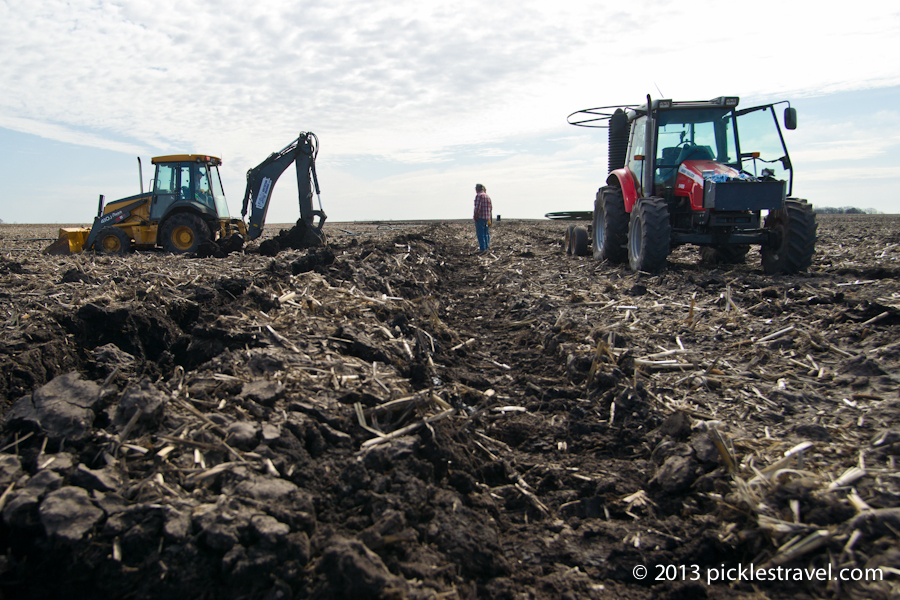
Using the Border Line
The very first step of tiling is to create a border line. This tile line gets laid first and then every other line runs perpendicular to that one. In order to have all the lines carrying away the water a hole needs to be dug down to the border line for access.
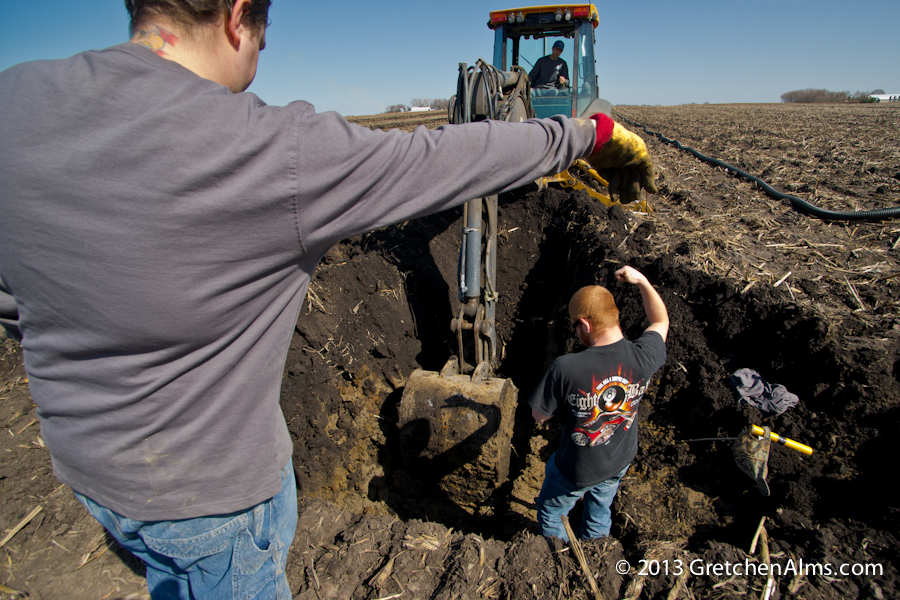
Excavation
Digging instructions are key. Because the tile tubes are made of plastic a lot of direction is required to make sure that the hole is dug deep enough to reach the line, but not too aggressively that is breaks the line.
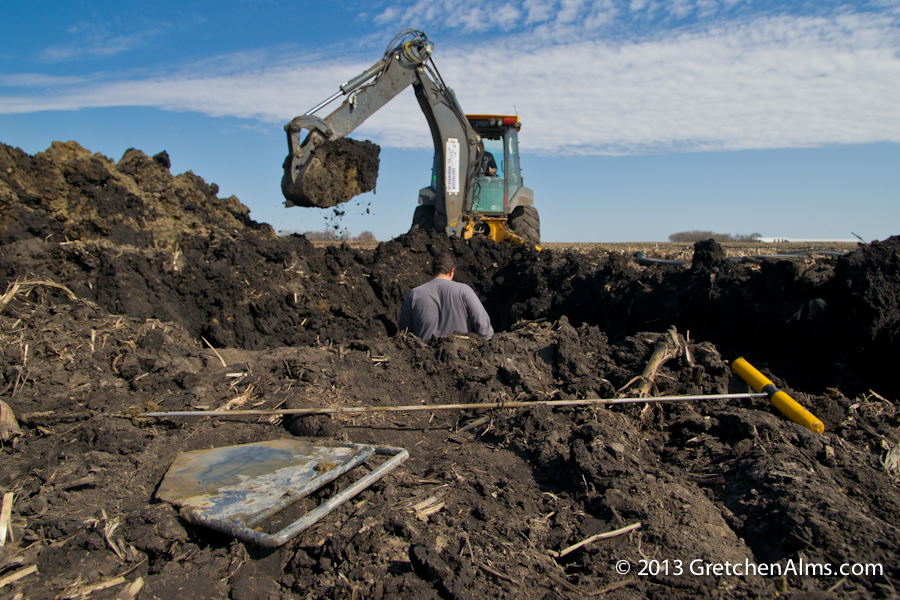
Tools of the Trade
Essential tools are brought out as the hole gets deep enough to see the border tile piping: a probe to feel for the tile line (finding it with a shovel or the backhoe could result in holes and would be disastrous), the hexagonal tool is a cutter which is used to slice the tile tube in half to install a T-Line
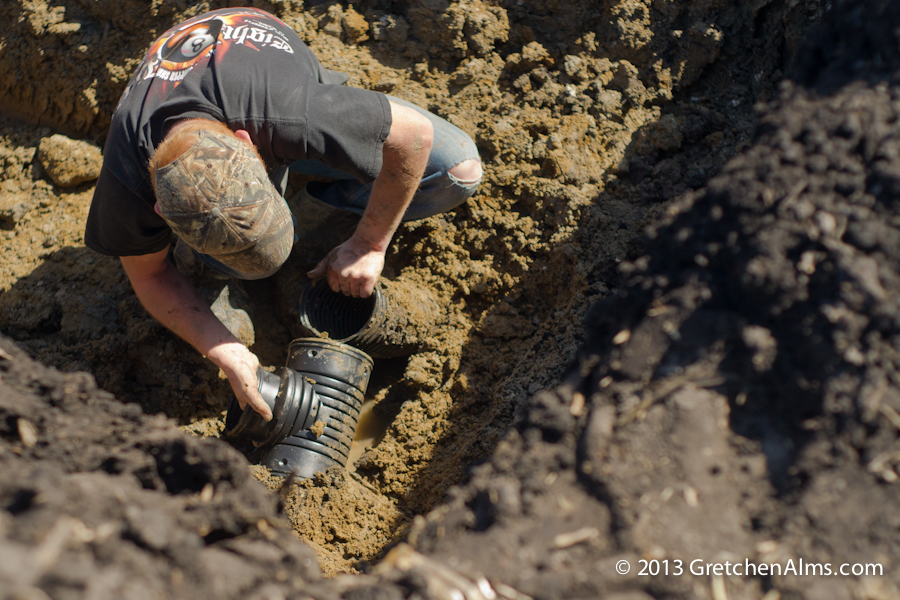
T-Line goes in
Once the tiling piping is found and the line cut a T-Line tube gets installed. This allows the perpendicular lines to all connect and to smoothly carry water away from the field.
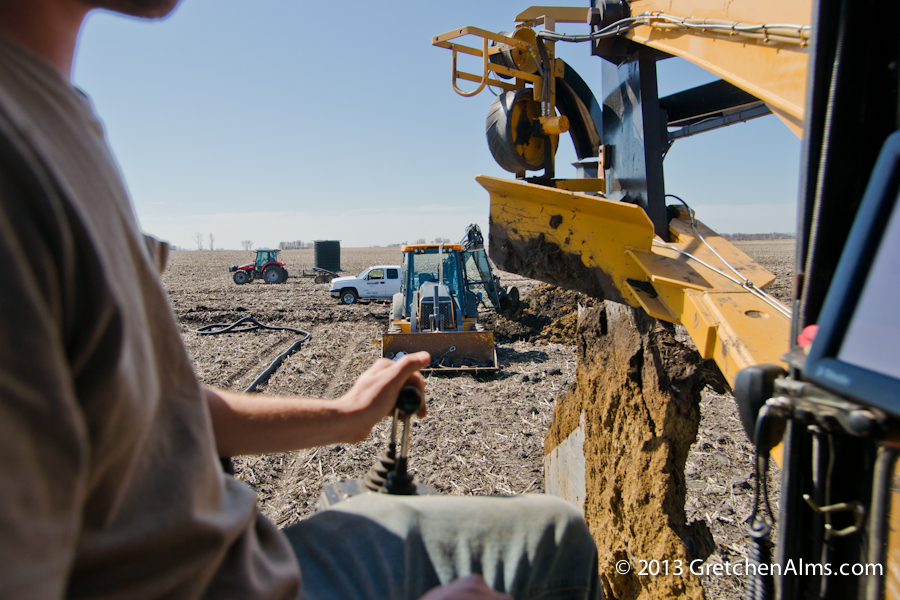
Tile Plow
A lot of large equipment is needed to pull off a job like this. As the backhoe finishes up the real workhorse moves in- A tile plow will lay the tile deep in the ground.
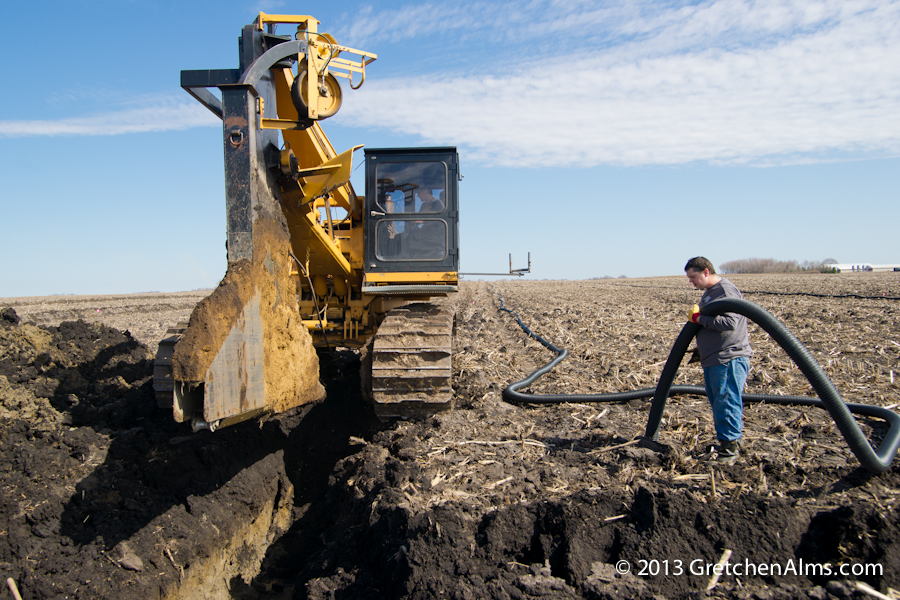
Beginning of the End
The tile plow pulls up over the newly excavated hole so that the plow is hanging precariously over the hole.
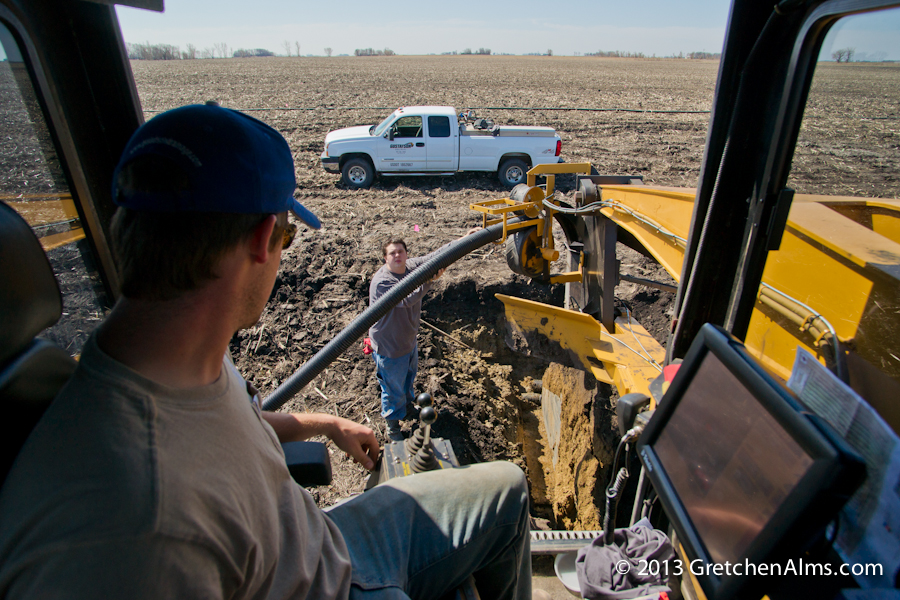
Tile Line Preparation
The tile line is then fed in and through the plow so that it can be connected to the T-Line and border line.
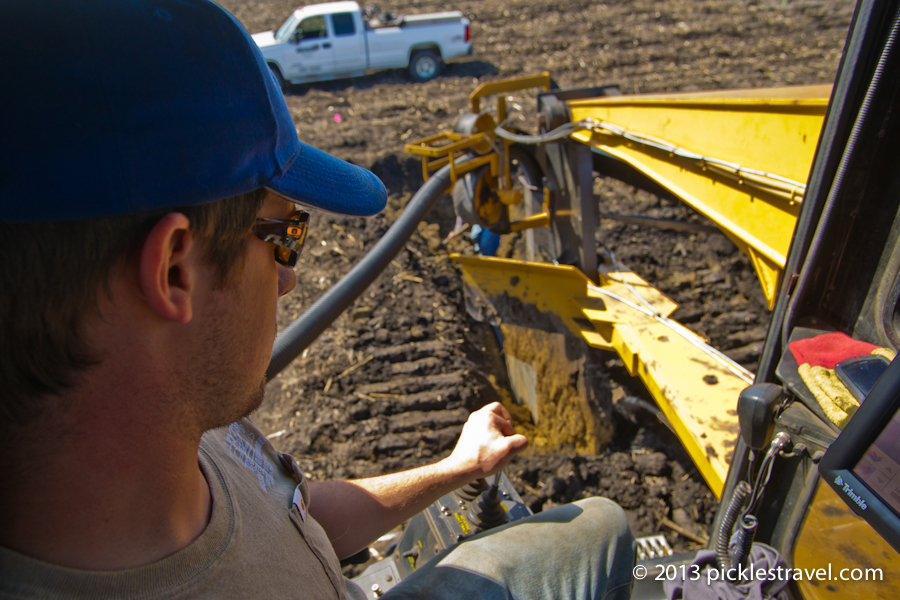
Successful Drainage Line Installation
As the plow pulls away from the hole the tile piping will be laid tautly deep beneath the soil. A lot of this part is done electronically using the GPS map that the surveyors made.
It is really cool that the surveyors were able to make a GPS map for you. I can imagine that it would be extremely difficult without something like that. My grandfather owns a big property but we don’t farm on it. Although, if we did, I would love to do something like tihs. Thanks for sharing.
Thanks for the comment Johnny- It was really interesting to watch and learn the process- there is a lot of fine tuning details involved in it and everything hinges on the survey- to which I’m sure you’re accustomed!
Thanks for the information about field drainage. I am trying to learn more about this for my college class. I like how you mention each of the different parts of the process. In my opinion, I think that the surveying is one of the most important parts. It’s part of getting the plan of how to do it.