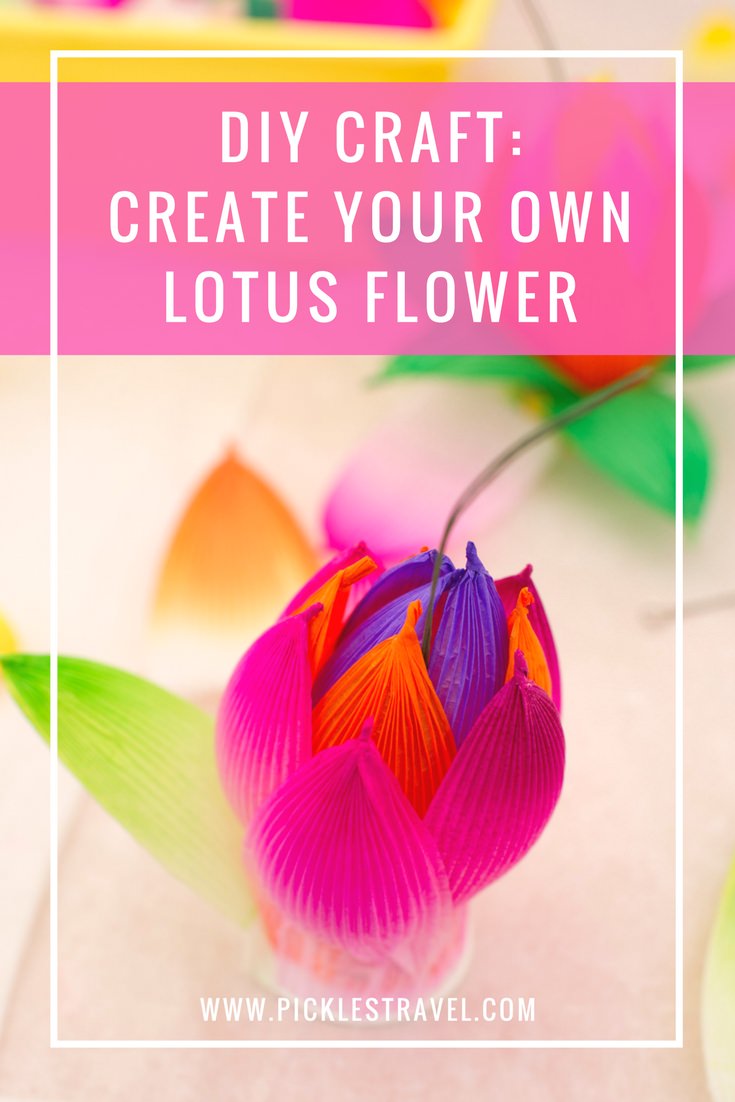
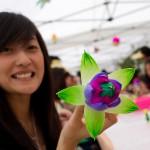
Today was a blast! We made Lotus Flowers as part of a tour at the Bongeunsa Temple in Seoul, S. Korea.
Lotus Flowers are quite easy to make- using paper cups and lots of glue! It’s been a long time since I’ve done arts and crafts with a glue stick, and it was fun going back to those days, if only for a while.
Note: This post contains affiliate links which cost you nothing, but if you use the link to purchase something I will make a smaller percentage which helps me continue to provide you with quality information like this post.
DIY Lotus Flower Tutorial
To make Lotus Flowers at home you will need:
1 paper cup
4 different colored leaf-shaped pieces of origami-style paper or make your own using this wonderfully thick tissue paper (3 for first row, 4 for second row, 5 for last two rows)
glue stick
small wire
Craft Lotus Flower Directions
Step 1: Preparing the Base
Pop two tiny holes in the bottom of your paper cup and pull the small wire through- you will use this to hang your flower, so make sure it’s long enough!
Step 2: Making the Lotus Flower Petals
Take all your colored leaf-shaped paper and roll the tip and slightly curve the paper so that it takes on the shape of a leaf or petal. The paper we used was also folded accordian-style, but I don’t think this is necessary to get the desired effect (see the photo above to get a better idea).
If you are making your own buy several different colors of this thick tissue paper and cut to about 1.5″ width x 2.5″ length and make sure to roll the tops to create that pointy leaf affect- you could even cut the top in more of a point to make that easier.
Step 3: Creating the Flower
Start gluing on your petals. Flip your cup upside down (so that it looks like a little “table). Glue the first row (3 pieces) onto the cup so that they are overlapping just a little. You want to make sure to have your “petals” facing inward. Continue your way down the cup with each row-
The second row should have 4 sheets, the third row 5 sheets.
(note: the amount of “leaves” and “petals” you need will vary depending on the size glass you use, ours was relatively small)
Step 4: The Leaves
Now you are ready to glue on your last row- the leaves. This row is different in that you want your leaves to be facing outward. You want to make sure that this row is sitting on the lip of the cup. See the photo above for an example (the first “leaf” has been placed on the cup already)
- How to make a Lotus Flower
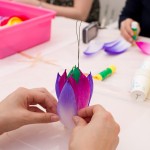
- Adding Colorful Petals
- The Finished Lotus Flower
- Me and my Lotus Flower


Pingback: Top 5 Most Popular Travel Posts | PicklesTravel
Pingback: 10 Top Attractions of Seoul South Korea | PicklesTravel
Pingback: Purging Sustainably by Donating, Selling, or Upcycling • Pickles Travel Blog | Eco-Friendly Living