5 Tips for Taking Great Fire Photos
Note: I am using the example of a controlled prairie burn for taking photos. I would only recommend photographing at a controlled burn of some sort- house, barn, prairie, etc. When fire is the cause of an emergency situation there is too much chaos and you may impede rescue or fire-fighting attempts by trying to take photos.
1. Safety.
Always maintain a safe distance from the fire. Carrying a longer zoom lens is key for photographing fires because you will be able to capture the action but you won’t interfere with fire-fighting efforts. Stay aware of the location of the fire and yourself. For example, you don’t want to get in the middle of a prairie during a prairie burn as they burn from the outside in, so stick to the outside.
2. Appropriate Attire.
Since this list is meant to give you information about photographing a controlled burn you will be able to plan your wardrobe accordingly. Wear long pants and sturdy boots to protect yourself from flying embers and ash. Fires get really hot- do not wear anything synthetic or plastic that could melt with proximity to heat.
3. Location.
Determine ahead of time what type of photos you want to capture and from where you will get the best angles. Plan several spots from which you can take your photos as fire can be unpredictable- you don’t want to have your one spot engulfing by smoke or fire.
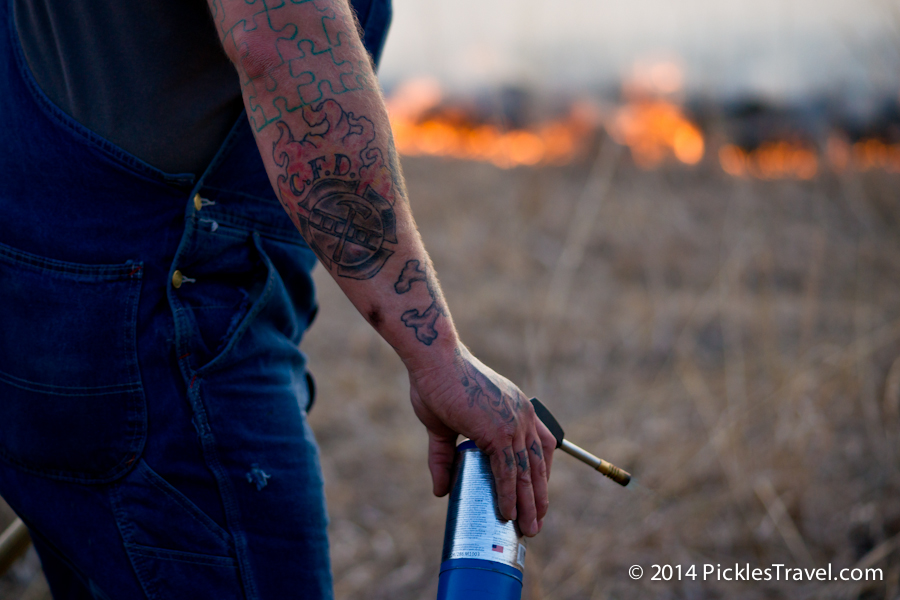
Plan for a variety of shots. Detail shots tell the story and landscape shots show the moment. Get a little piece of everything so you have a complete picture.
4. Fast Lens.
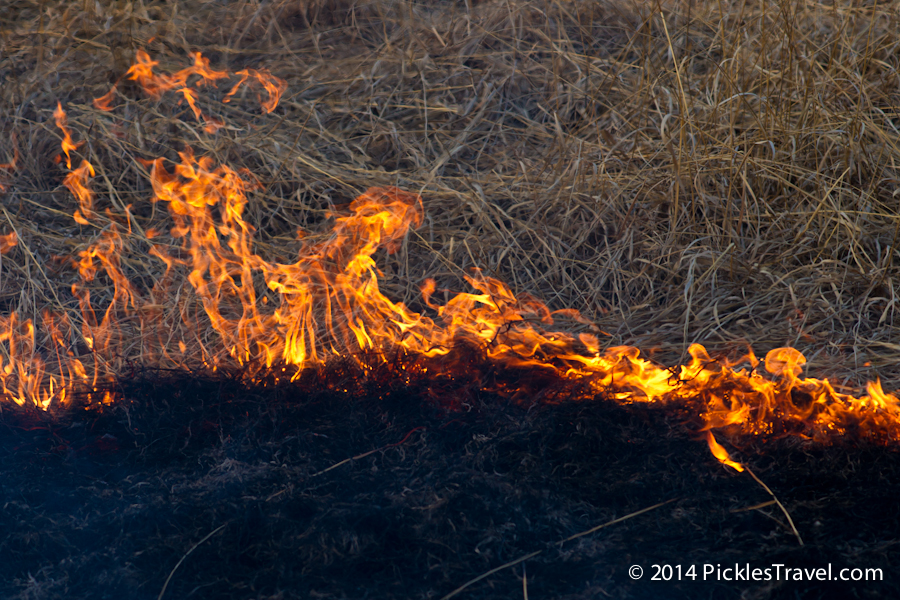
High shutters speeds will be key to capturing detail during a fire. Fire and smoke move quickly and if your shutter is too slow the smoke may blank everything out and just cause a blur in your photo. I recommend keeping your shutter speeds above 1000 s. if possible.
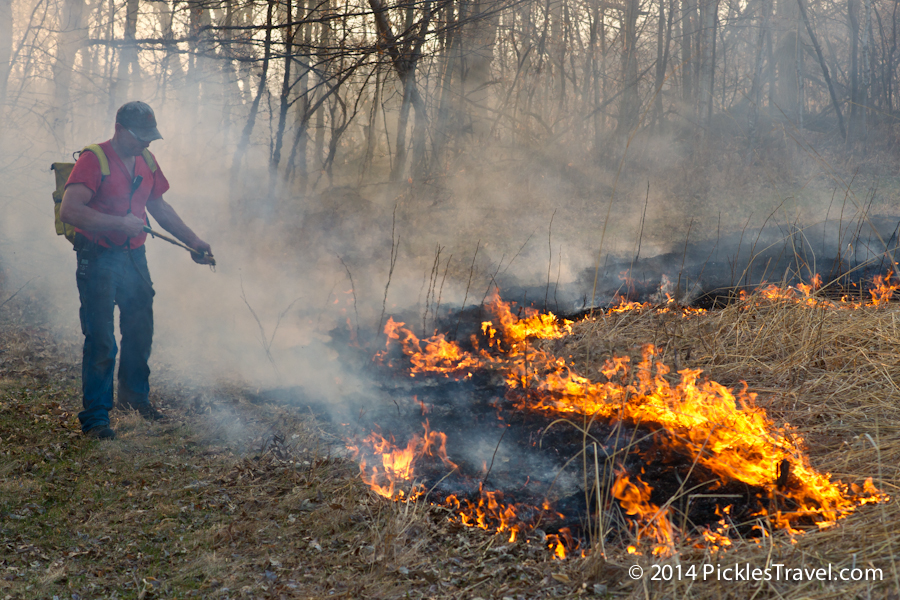
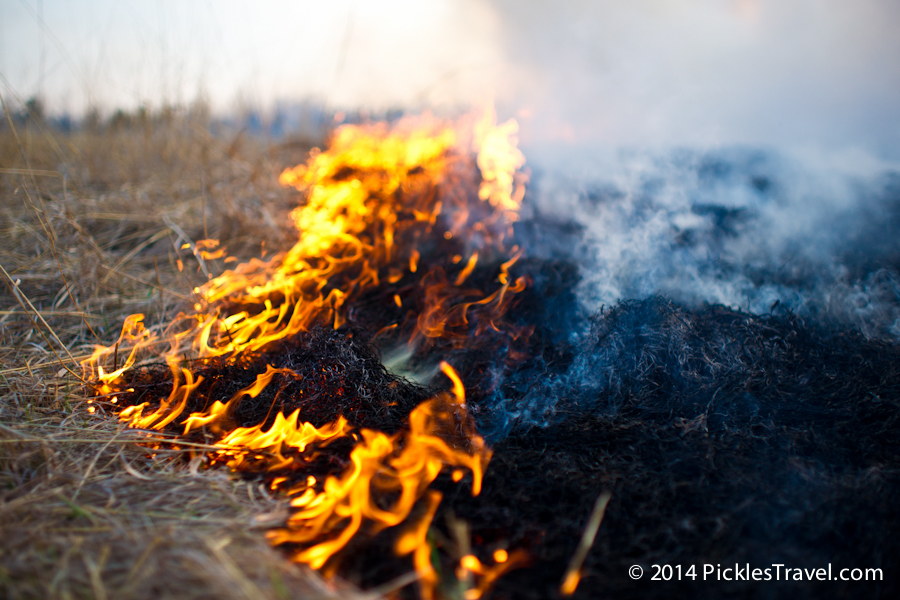
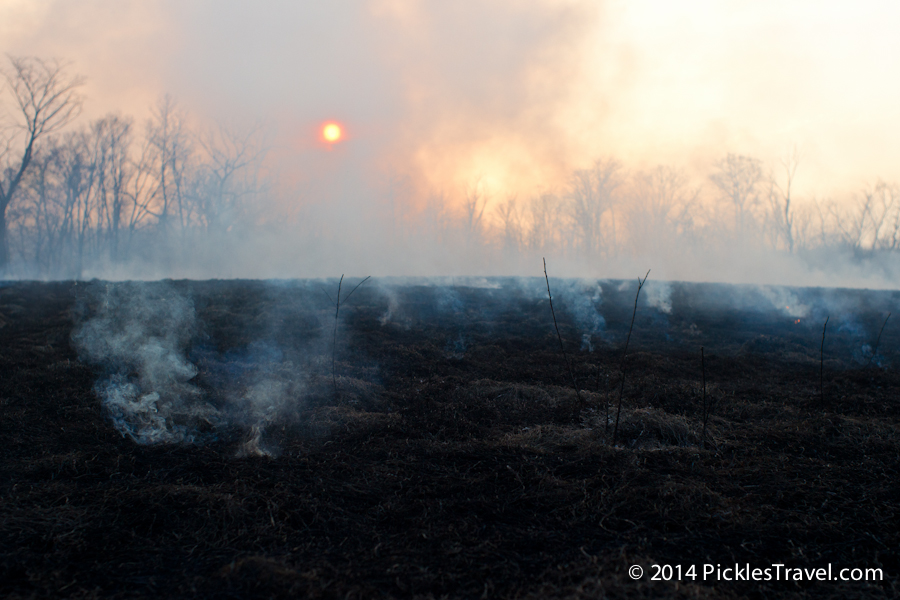
If you can open your aperture up to f/2.8 this will help to raise your shutter speed, as well as giving you nice crisp detail on one item in the shot. Remember that f/2.8 gives you a very shallow depth of field; like in the photo above, where only the prairie grasses turned to ash in the center of the photo are in focus. If you want more detail captured in your photo at this aperture, step back further from the fire.
5. Lighting.
Pay attention to the light. If you can, put your camera in manual mode so that you will have more control over your photos- choosing for light as well as shutter.
Flame is notoriously bright and can easily mess up the lighting in your photos if you’re not careful. Determine what you want your photo to be about before shooting. To make the photo shoot a bit simpler try setting your exposure compensation to +1EV (exposure value). This allows you to brighten your photo without changing any of your other settings- like ISO or aperture.
Examples:
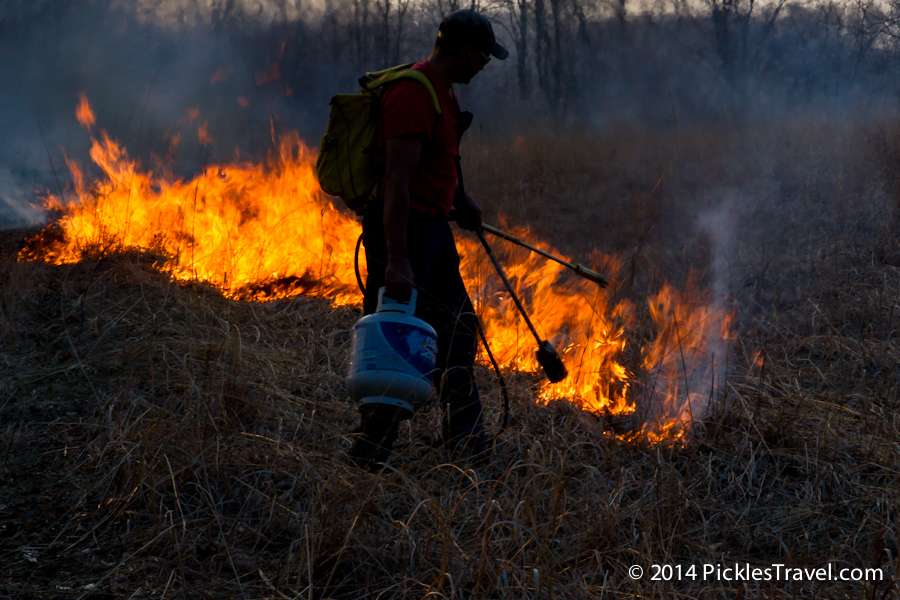
If you want to photograph the flame with a silhouette in front (above image) then shooting based on lighting for the flame should be fine. If you are taking photos in automatic mode the camera will naturally darken the rest of the photo in an effort to keep the flame of the fire from getting over exposed.
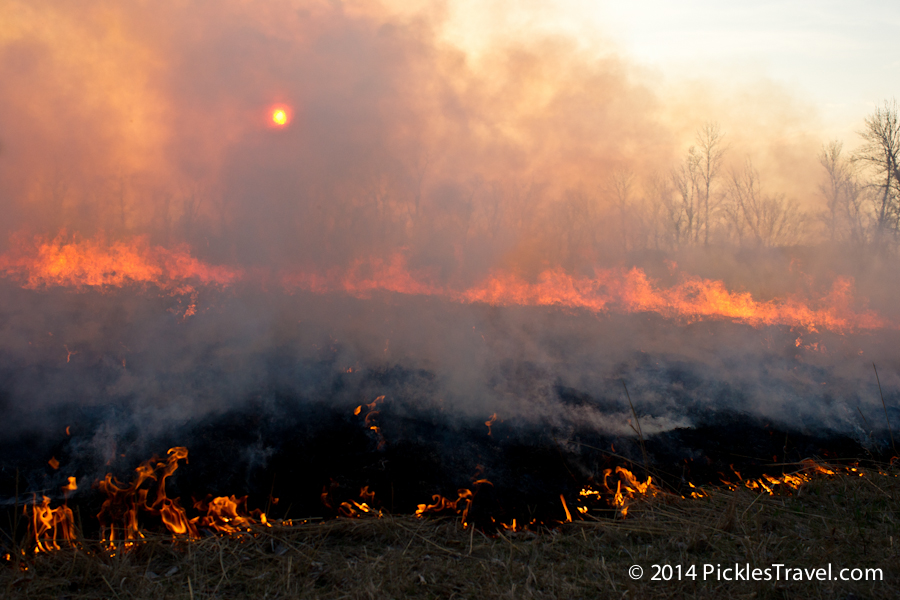
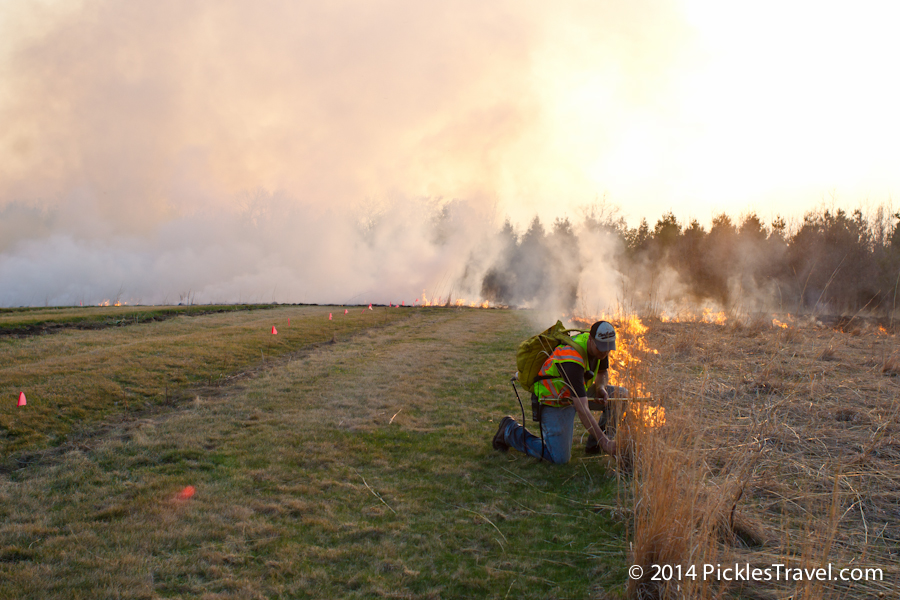
In this photo the sun was being reflected through the wisps of smoke that remained. The shutter speed needed to be higher (1600 s) in order to capture the wisps, rather than a blur of smoke, but also without overexposing the sky or underexposing the ground.
The photo was shot basing the lighting off the in-between ground of the tree line, raised the ISO settings up to 500 (a bit grainier image, but more light coming in) and opened my aperture up to f/4.0 to give a little more breadth of detail, but not too much that it effected the shutter speed.
This is great!! Awesome tips! And of course, beautiful images!