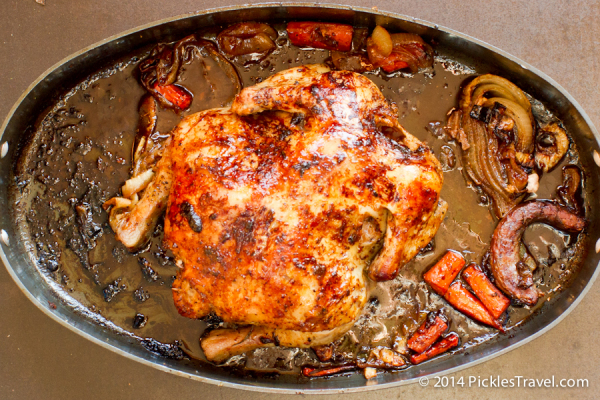
| Servings |
|
Ingredients
- 1 3-4 lbs Chicken, Whole innards removed
- 2 Carrots, medium cut into medium pieces
- 1/2 Onion sliced
- 1 Lemon peeled and halved
- 1 Orange peeled and halved
- 5 leaves Fresh Thyme
- 4 cloves Garlic
- 1 Tbsp. Olive Oil
- Salt & Pepper
Ingredients
|

|
Instructions
- Preheat oven to 400 degrees F. Make sure there is enough room between the racks in the oven to fit the roaster and chicken.
- Remove any giblets. Reach inside the chicken cavity to remove the bag of giblets. They can be roasted alongside the chicken in the roaster to add additional juice and flavor to your drippings (and gravy).
- Wash chicken, remove any remaining feathers and excess fat. Pat dry.
- Liberally apply salt and pepper to the inside cavity of the chicken. Stuff the inside of the chicken with the garlic cloves, thyme, and the lemon and orange halves. Using a toothpick pull the fat flaps together at the base to hold in the moisture and the citrus pieces.
- Rub the outside of the chicken with the olive oil and top with salt and pepper.
- On the bottom of the roaster place the sliced onions and carrot pieces. In order to keep your chicken breast as moist as possible, lay the chicken breast down into the pan.
- Cook the chicken for 50 minutes. Stick the thermometer into the thickest part of the thigh. It is done cooking when it reaches 165 degrees Fahrenheit.
- Flip over the chicken so that the breast is now on top in order to crisp it up. Using a spoon scoop up the juices from the bottom of the pan and pour over the chicken to add flavor and moisture.
- Check the chicken every 10 minutes and repeat last step until chicken registers the correct temperature. The trick to the perfectly moist chicken is to keep coating it with the dripping juices from the pan.
- Once done, remove chicken and allow to sit for 10 - 15 minutes. Remove inside flavorings. Save all the juice and brown fond that has pooled on the bottom of your pan. This will make an amazing gravy.
- Carve and serve with the roasted carrots and onions. Enjoy.
Share this Recipe