Last year I won half of a hog at the Pheasant’s Forever banquet. That was amazing. When I called the butcher and they gave me all these choices about how to get the meat cut and what to do with excess ‘waste’ items, like the pork fat.
I ordered all the meat (as much bacon as possible) and then they asked about the pork fat. Did I want to keep it? Being someone that hates to waste anything- especially perfectly usable animal parts- I said yes in a heartbeat. It has been sitting in my freezer ever since, just waiting for the day when I was motivated to start rendering lard out of it. And finally, 12 months later here it is.
Rendering that pork fat into lard is a very simple process, it just takes time (passive time). You need about a cup of water, a crockpot (to make your life easy) and chopped up pork fat.
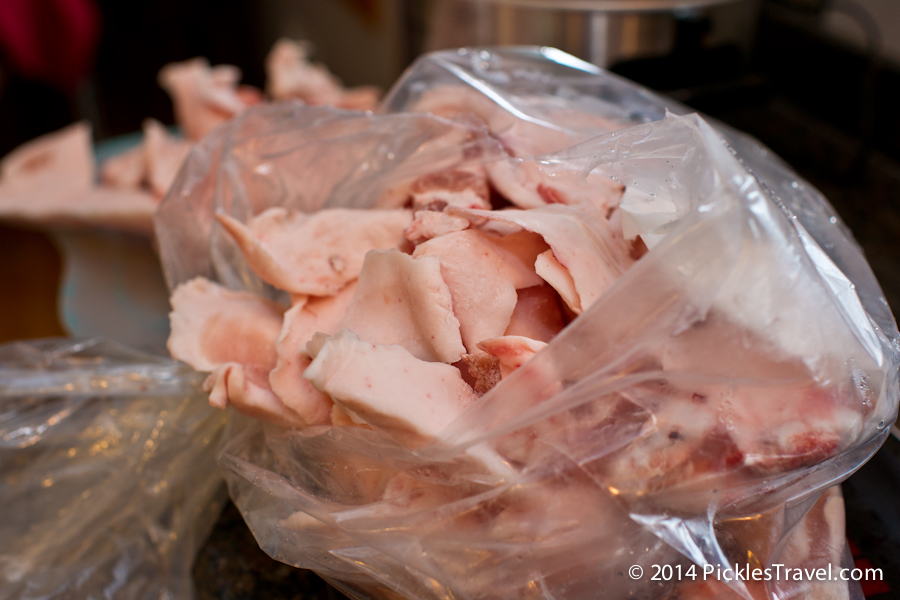
As you can see, pork fat is not particularly attractive. And there is a lot of it! I had somewhere between 15 and 20 lbs of fat when I started- all packed away into the bag shown.
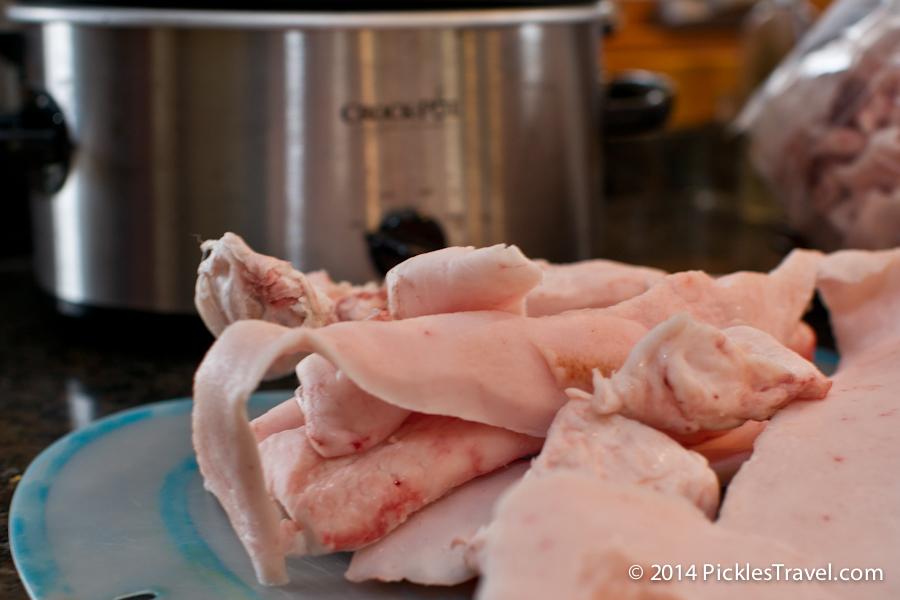
Pork fat comes in large pieces so you’ll want to chop it down into sizable, more manageable chunks (as shown below)
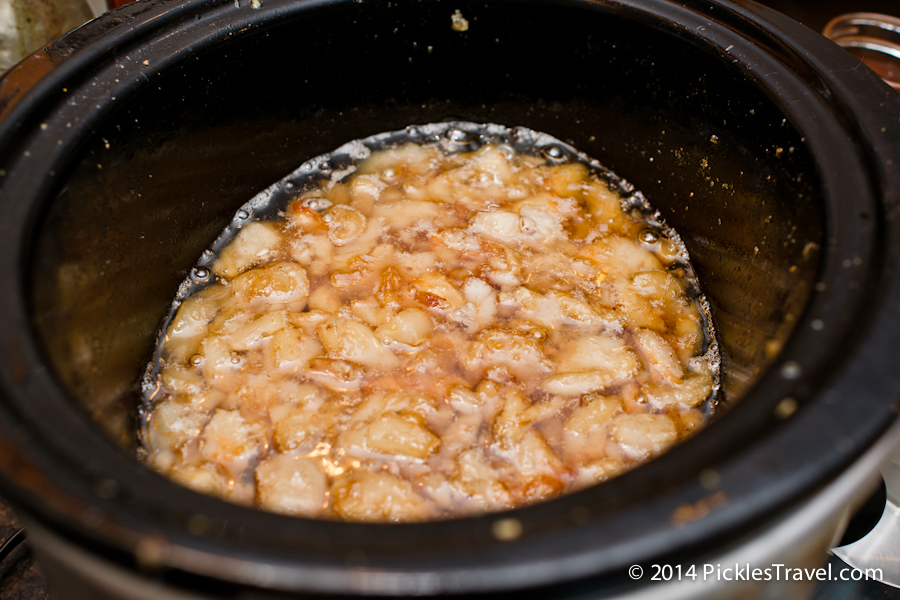
As the fat cooks down the space it needs in the crockpot also gets lower. Make sure you’re stirring regularly so that it’s not burning on the sides.When the fat has rendered down to about half you can remove some of the smaller pieces of fat to make cracklings.
Somewhere between 5 to 8 hours, depending on your crockpot, you will have most of the fat rendered off. You can drain that into a glass container.
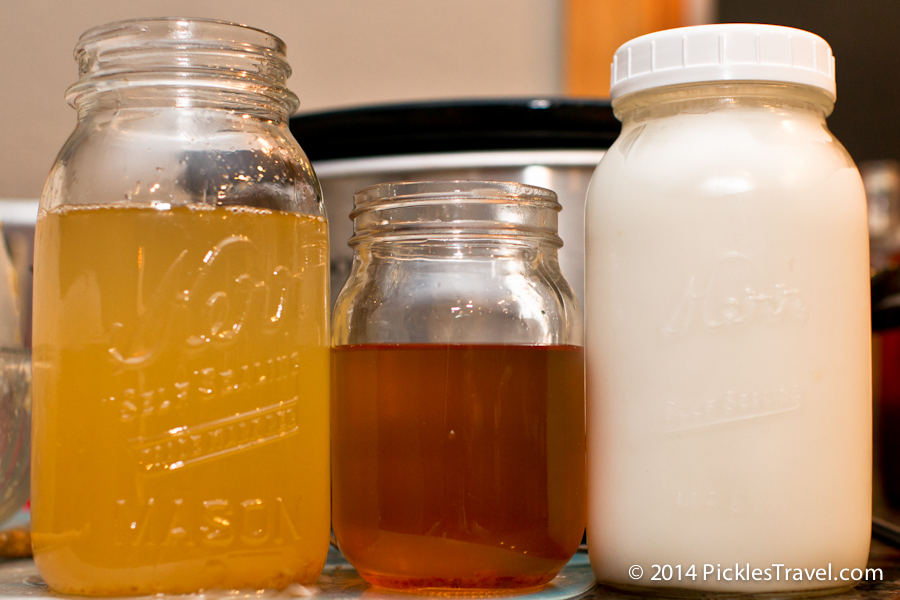
Put the remaining fat and meat chunks back into the crockpot to completely cook off. This “second” rendering of lard will end up being darker and more savory than that which you just drained off, so keep in separate containers.
Above the photo from left to right shows a jar of lard from the first rendering, a jar of the more savory lard “second” rendering, and a cooled jar of lard.
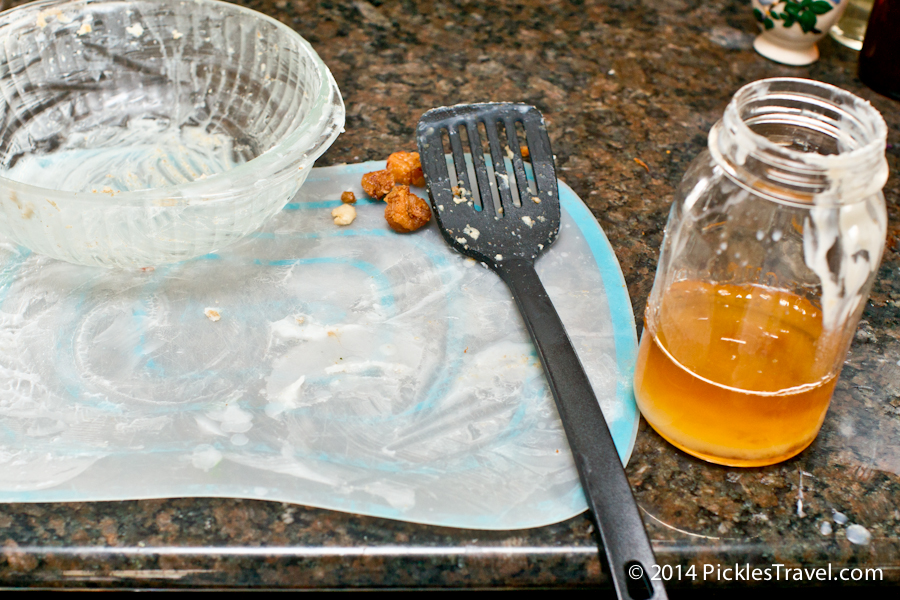
Rendering lard is an extremely messy process. Keep the mess confined by using a large cutting board of metal sheet for your draining of the large from the pieces. I also used a measuring cut and funnel to pour the grease into the jars without too much mishap.
Make Lard from Scratch
Ingredients:
Pork Fat chopped into cubes
1 cup water
Crockpot
Directions:
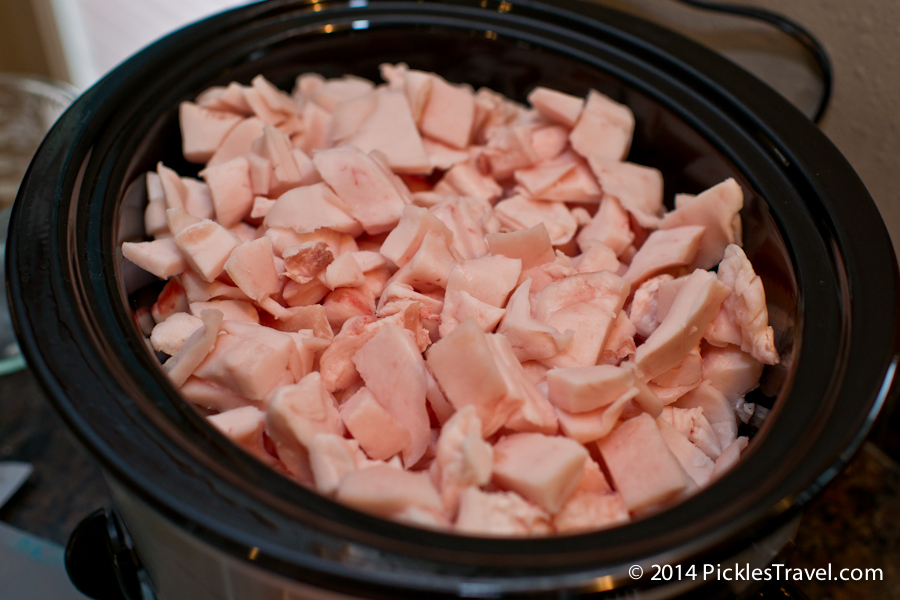
1. Add 1 cup of water to a large crockpot and add cubed pork on top. The water is so that there is some liquid in the pot to begin. Don’t worry, it will all evaporate off.
2. Fill the crockpot to the top with the fat cubes- it will cook down. Start with crockpot heat on low, just while it warms up. Keep the cover on for the first hour to hold in that heat. Once it’s warm turn up the heat and remove the cover. The goal is to keep the fat as hot as possible without burning it.
3. Stir fat every few hours so that it doesn’t burn. When the fat has rendered down to about half you can remove some of the smaller pieces of fat to make cracklings.
4. After anywhere between 5 to 8 hours, depending on the size of your crockpot, you will have most of the fat rendered. You can drain that into a glass container (don’t use plastic, the heat of the fat will probably melt it). Keep all of the little bits of meat and remaining fat out of your jars.
5. Put the remaining fat and meat chunks back into the crockpot to completely cook off. This lard will end up being darker and more savory than that which you just drained off, so keep in separate containers.
6. Allow lard to cool to room temperature and then store in a cool, dark place, the refrigerator or freezer. If kept in the freezer it will keep indefinitely.
Notes:
- Out of about 15-20 lbs of pork fat I got approximately 5 quarts of lard.
- I thought that making lard would make my house smell like yummy bacon. It did not. It smelled more like baking a turkey at Thanksgiving- the smell of the turkey drippings as it cooks. It is not a particularly appealing smell after a whole day of cooking, but I would still say it’s well worth the undertaking.
- When I make lard in the future I will use a wide rimmed jar. It is harder to get lard out of those narrow rimmed Mason jars. You live and learn.
Do you love natural ingredients as much as I do? Then we have something in common! Keep in touch by liking PickleTravel’s Facebook page or following me on Pinterest. I will be publishing more related recipes in the future, from garden delicacies to berries to wild game and hope you follow along.
Whoa, cool. Although I don’t think I will ever do this myself, I certainly enjoyed reading about the process!
Thanks Haley!
I can definitely understand not ever doing it yourself. I may not ever do it myself again, but I loved the process and am also glad I did it. I’d have felt worse having that fat go to waste ;c) Thanks for reading!
Pingback: Blue-Cheese Stuffed Venison Burger | Wild Game Recipe | Pickles Travel Blog
Pingback: How to make Refried Beans from Scratch